ADVERTISEMENT
Step 1: Prepare the Beans
- Sort and Rinse: Pick through the beans to remove any debris, then rinse them thoroughly.
- Soak: Soak the beans overnight in a large bowl of water. This reduces cooking time and makes them easier to digest.
- Pre-Cook: Drain and rinse the soaked beans. Place them in a large pot with fresh water and simmer for about 30 minutes. The beans should be tender but not fully cooked, as they’ll continue cooking during the canning process.
Step 2: Make the Sauce
- In a medium saucepan, combine the tomato sauce, molasses, brown sugar, apple cider vinegar, mustard, onion, garlic, smoked paprika, salt, and pepper.
- Simmer the mixture over low heat for 10–15 minutes, stirring occasionally, until the flavors meld. Adjust seasoning to taste.
Step 3: Combine Beans and Sauce
- Drain the pre-cooked beans and return them to the pot.
- Pour the sauce over the beans, stirring gently to coat. If the mixture is too thick, add a little water or vegetable broth to achieve your desired consistency.
Step 4: Can the Beans
- Sterilize Jars: Wash your jars, lids, and bands in hot, soapy water. Sterilize them in boiling water or the dishwasher. Keep them warm until ready to use.
- Fill Jars: Use a ladle and funnel to fill the jars with the bean mixture, leaving 1 inch of headspace at the top.
- Remove Air Bubbles: Run a non-metallic spatula or chopstick around the inside of the jars to release trapped air bubbles.
- Seal Jars: Wipe the rims with a damp cloth to ensure a clean seal. Place the lids on top and screw on the bands until fingertip-tight.
Step 5: Process in a Pressure Canner
- Place the jars in your pressure canner according to the manufacturer’s instructions.
- Process at 10–15 PSI (adjusting for altitude) for 75 minutes for pint jars or 90 minutes for quart jars.
- Once the canning cycle is complete, allow the pressure to return to zero naturally before removing the jars.
Step 6: Cool and Store
- Remove the jars from the canner and place them on a towel-lined surface to cool for 12–24 hours.
- Check the seals by pressing on the center of each lid; it should not flex.
- Label and store your canned baked beans in a cool, dark place for up to 12 months.
Serving Suggestions
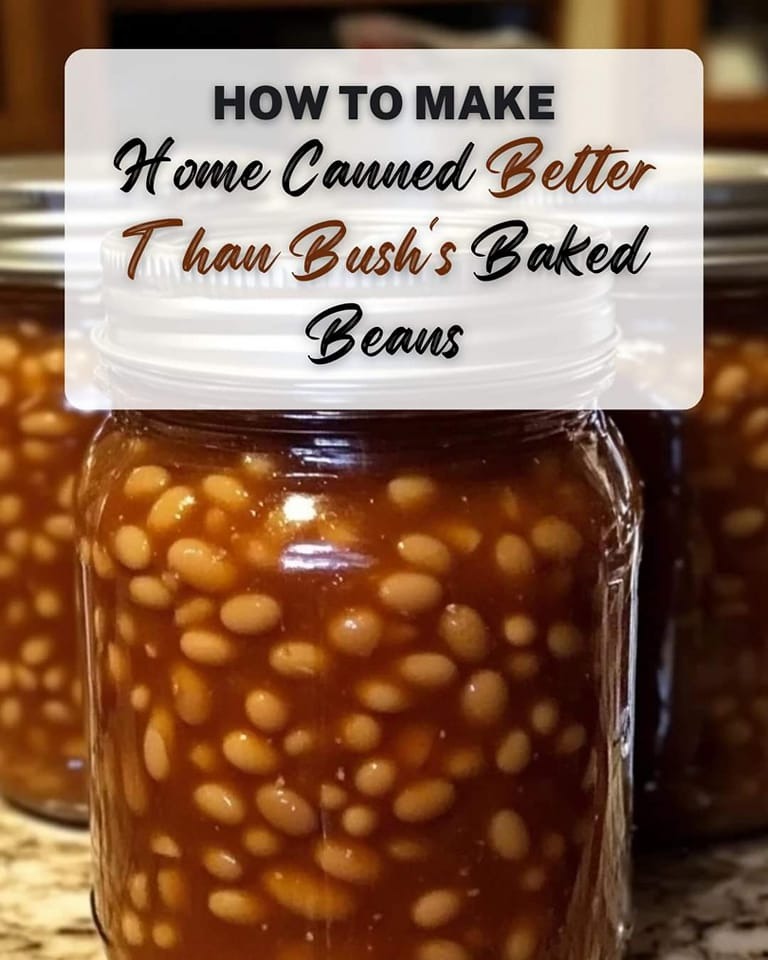
Your home-canned baked beans are versatile and ready to shine in any meal! Here are some serving ideas:
- Classic BBQ Side: Pair with grilled meats, cornbread, and coleslaw.
- Breakfast Addition: Serve alongside eggs, bacon, and toast.
- Hearty Main Dish: Top with shredded cheese and serve with a side salad.
Why You’ll Love This Recipe
- Better Flavor: Rich, smoky, and perfectly balanced, these beans outshine store-bought versions.
- Homemade Convenience: With jars on hand, you can enjoy baked beans anytime without extra prep.
- Family-Approved: This recipe is a hit at gatherings and a staple for quick weeknight meals.
Conclusion
Home-canned baked beans are more than a pantry staple—they’re a delicious labor of love that showcases your culinary skills. By following this recipe, you’ll create a batch of beans that rivals even the most beloved store-bought brands. Plus, you’ll have the satisfaction of knowing exactly what’s in your food.
So, roll up your sleeves, gather your ingredients, and get ready to enjoy baked beans that are truly better than Bush’s. Once you’ve tasted the homemade difference, you may never go back! Happy canning! 🫘✨
ADVERTISEMENT
