ADVERTISEMENT
Instructions
1. Melt the Chocolate
- In a microwave-safe bowl, combine the chocolate chips and coconut oil.
- Microwave in 30-second intervals, stirring each time, until the chocolate is completely melted and smooth. You can also melt the chocolate on the stovetop using a double boiler.
- Once melted, stir in the vanilla extract and salt if using.
2. Add the Cereal
- Pour the crunchy cereal into the melted chocolate mixture.
- Gently fold the cereal into the chocolate until it is fully coated and evenly distributed.
3. Prepare the Pan
- Line an 8×8-inch baking dish or pan with parchment paper to make it easy to remove the bars once set.
- Pour the chocolate-cereal mixture into the prepared pan, spreading it evenly with a spatula to ensure an even thickness.
4. Set the Bars
- Place the pan in the refrigerator for at least 1-2 hours or until the bars are firm and set. You can also pop it into the freezer for quicker setting if you’re in a hurry.
5. Slice and Serve
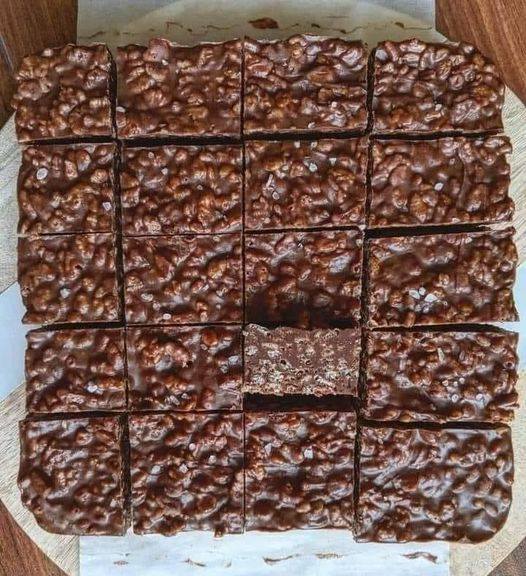
- Once the bars are fully set, remove them from the refrigerator and lift them out of the pan using the parchment paper.
- Slice the bars into squares or rectangles with a sharp knife.
Tips for the Best Homemade Crunch Bars
- Use Good-Quality Chocolate: Since chocolate is the main ingredient, using high-quality chocolate makes a big difference in flavor.
- Experiment with Add-Ins: For added flavor, try adding a handful of chopped nuts, dried fruit, or shredded coconut.
- Store Properly: Keep the bars in an airtight container in the refrigerator for up to 1 week. You can also freeze them for up to 1 month.
Enjoy these homemade no-bake crunch bars as a snack or dessert—they’re guaranteed to satisfy your sweet tooth with every crispy bite!
ADVERTISEMENT
